


How to add SHORTCUT to your planner on your iPad
Planner shortcut on iPad: the steps
| Step | What to do |
|---|---|
| 1. Open Shortcuts | Open the Shortcuts app, or download it from the App Store. |
| 2. Add a shortcut | Tap the + button at the top right. |
| 3. Name it | Use the down arrow, tap Rename and give it a name. |
| 4. Select your planner | Search for your planner document and select it. |
| 5. Add to Home Screen | Tap the (i) icon and choose Add to Home Screen. |
| 6. Choose an icon | Pick your preferred image, tap Use, then Add. |
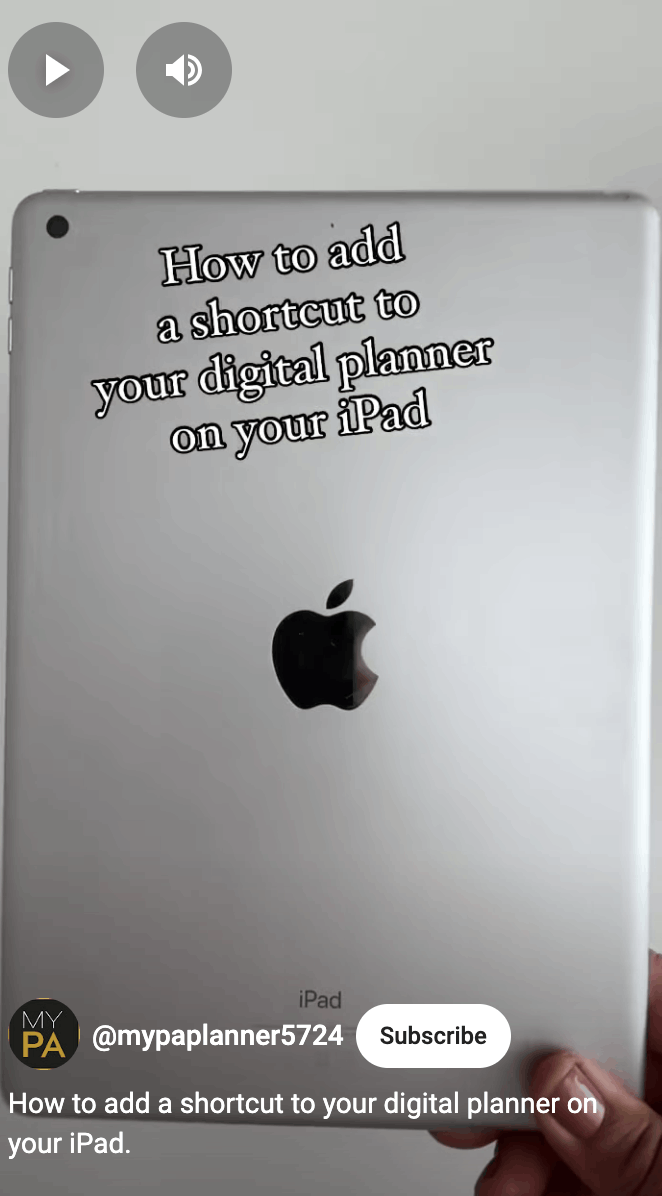
You can view the video here on You tube How to add a Shortcut you your planner on your iPad
1. Go to the Shortcuts app on your iPad) ( if you don’t have the app go to the app store and download it.)
2. Tap the + (Add) button on the top right of the screen
3. Name your shortcut in the window at the top left of the screen. click the down arrow and a menu will appear. Click rename and name your shortcut, for example, 2025 Planner.
4. Now locate your planner name by typing the name of your document and then select this ( you will find the search bar on the top right of your screen) Once selected its name will appear on the top left of your iPad.
5. Tap the ( i ) icon (on the top right) and tap “Add to Home Screen”.
6. Type the icon with the name of your planner, a menu will appear and you can choose your preferred image.
7. Navigate to where the icon images were saved. Tap “Use” then tap “Add”.
8. Your planner shortcut is now created. Now you can tap the icon to go directly to your planner.
To view a video on how to create a shortcut to your planner on your iPad

Shop MY PA
2027 Digital Planner
Plan your business and your life in one place. Made for iPad, reMarkable, Kindle Scribe and GoodNotes.
$29
Shop the 2027 digital planner