Here is a step-by-step guide on how to upload your digital planner to your iPad: Please also find a video explaining this and how to use your planner on your iPad.
Choose a note-taking app: There are several note-taking apps available for iPad, such as GoodNotes, Notability, and Noteshelf. Choose the one that you prefer and download it from the App Store.
Export your digital planner as a PDF: Most digital planners are available in PDF format. If your planner is not in PDF format, you can convert it to PDF using an online converter.
Import your digital planner to the note-taking app: Open the note-taking app and import your digital planner by selecting the "import" or "add" option. Choose the PDF file of your digital planner from your device's storage.
Organize your planner: Once you have imported your digital planner, you can organize it by creating different notebooks, sections, or categories. You can also customize your planner by adding stickers, images, or text.
Start planning: You can now start planning on your digital planner using your iPad and stylus. You can write, draw, highlight, and erase just like you would on a paper planner.
Note that the specific steps may vary depending on the note-taking app you choose. Some apps may have additional features such as handwriting recognition, audio recording, or cloud syncing. You can explore these features to enhance your digital planning experience.
We've also written an updated step-by-step guide for uploading the MY PA Planner to the Remarkable 2.
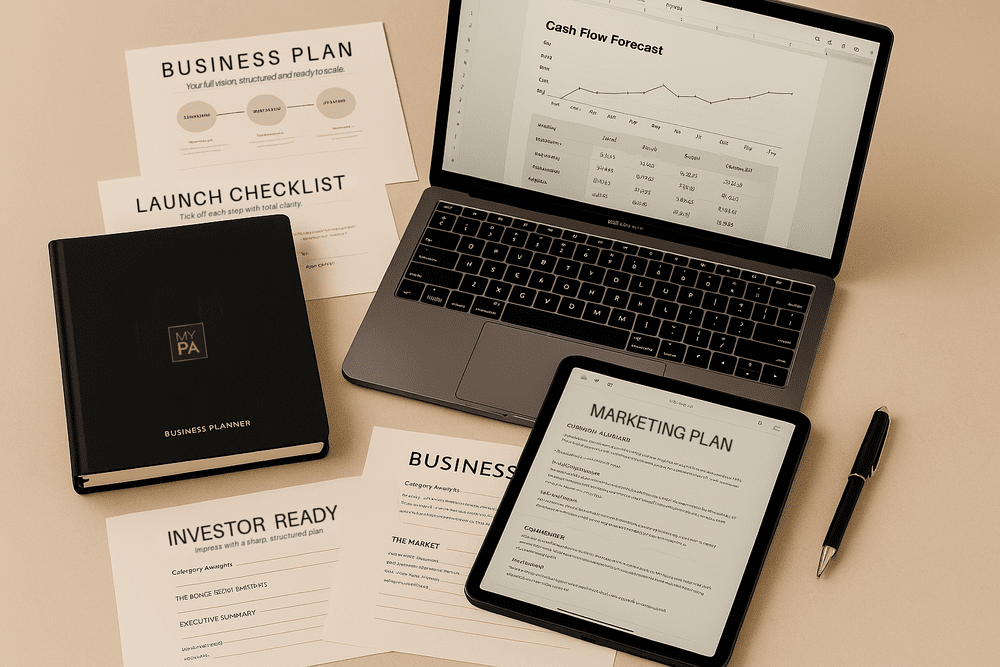
Start your business without guessing
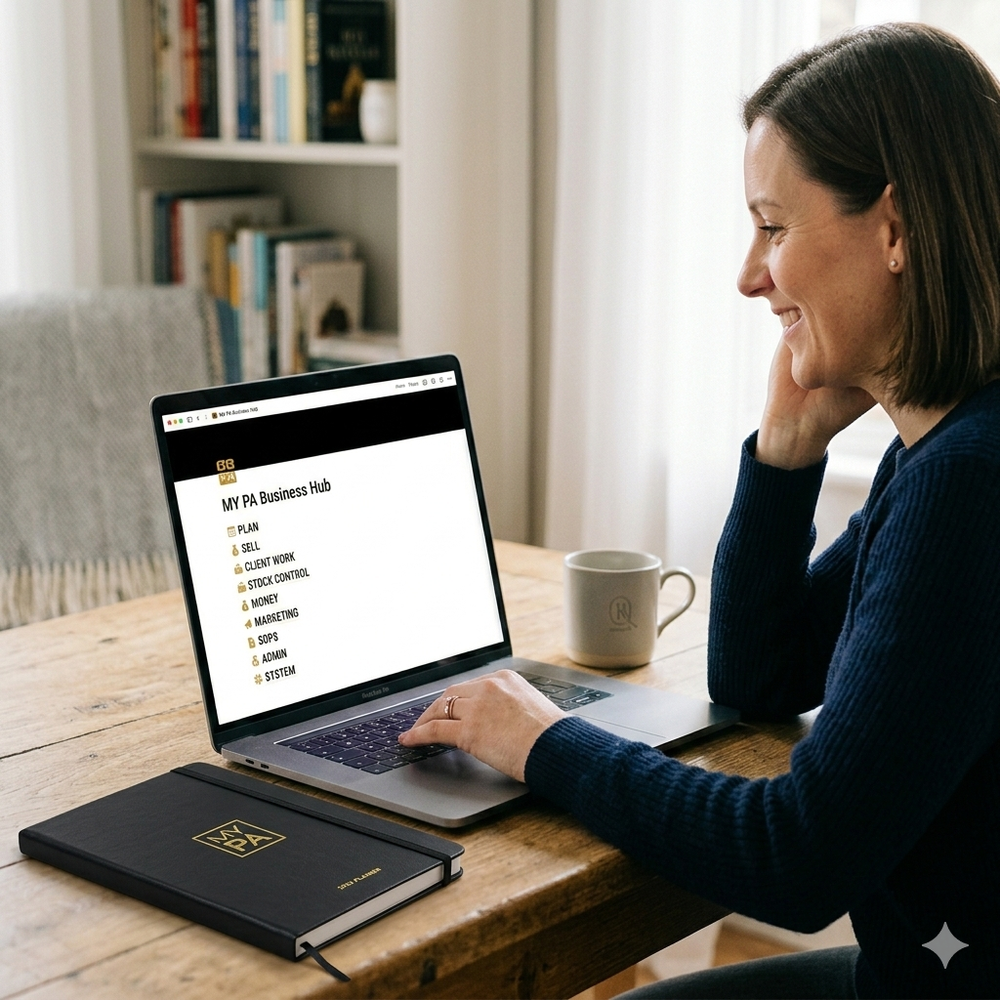
The Business Starter Kit gives you the plan, the pricing, and one place to run it, so you always know what to do next.
- Clear plan, step by step from idea to launch.
- Price for profit, know what to charge and what you will make.
- One Business HQ, run your entire business from one place from day one.
Start free, then choose the next step when you are ready.